DIY Santa Sacks Your Kids Will LOVE!
How To Sew A Santa Sack: Christmas Holiday Gift Bag Beginner Tutorial GiftsHQ 4.67K subscribers 172 7.6K views 2 years ago #learntosew #drawstringbag #sewingclass.more.more In this.

How to make a santa sack 6 Santa sack, Santa sack pattern, Christmas sewing projects
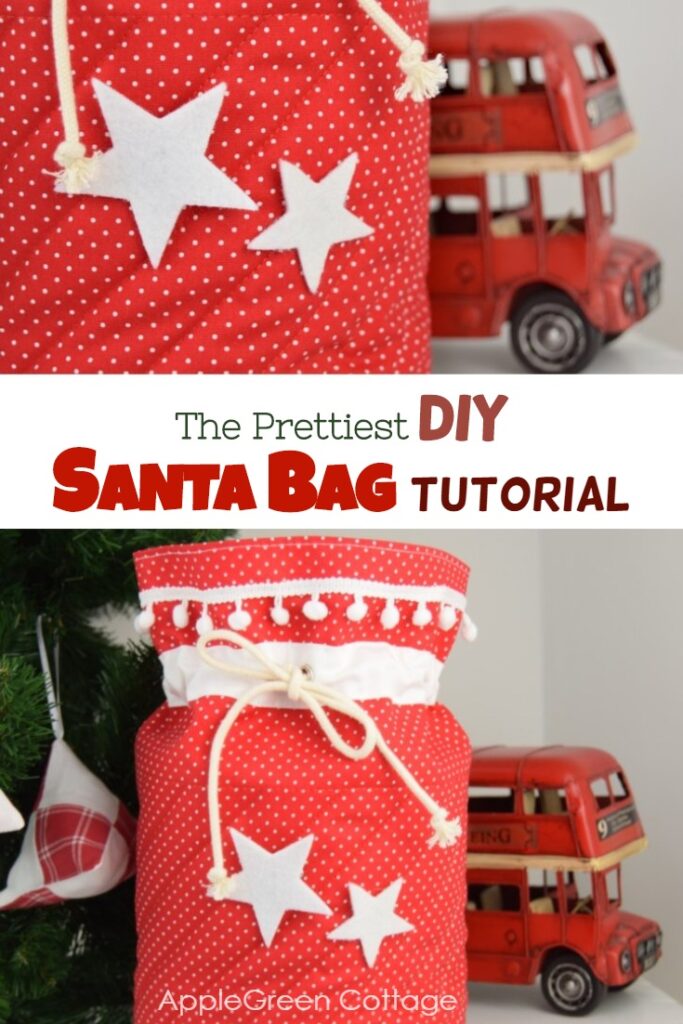
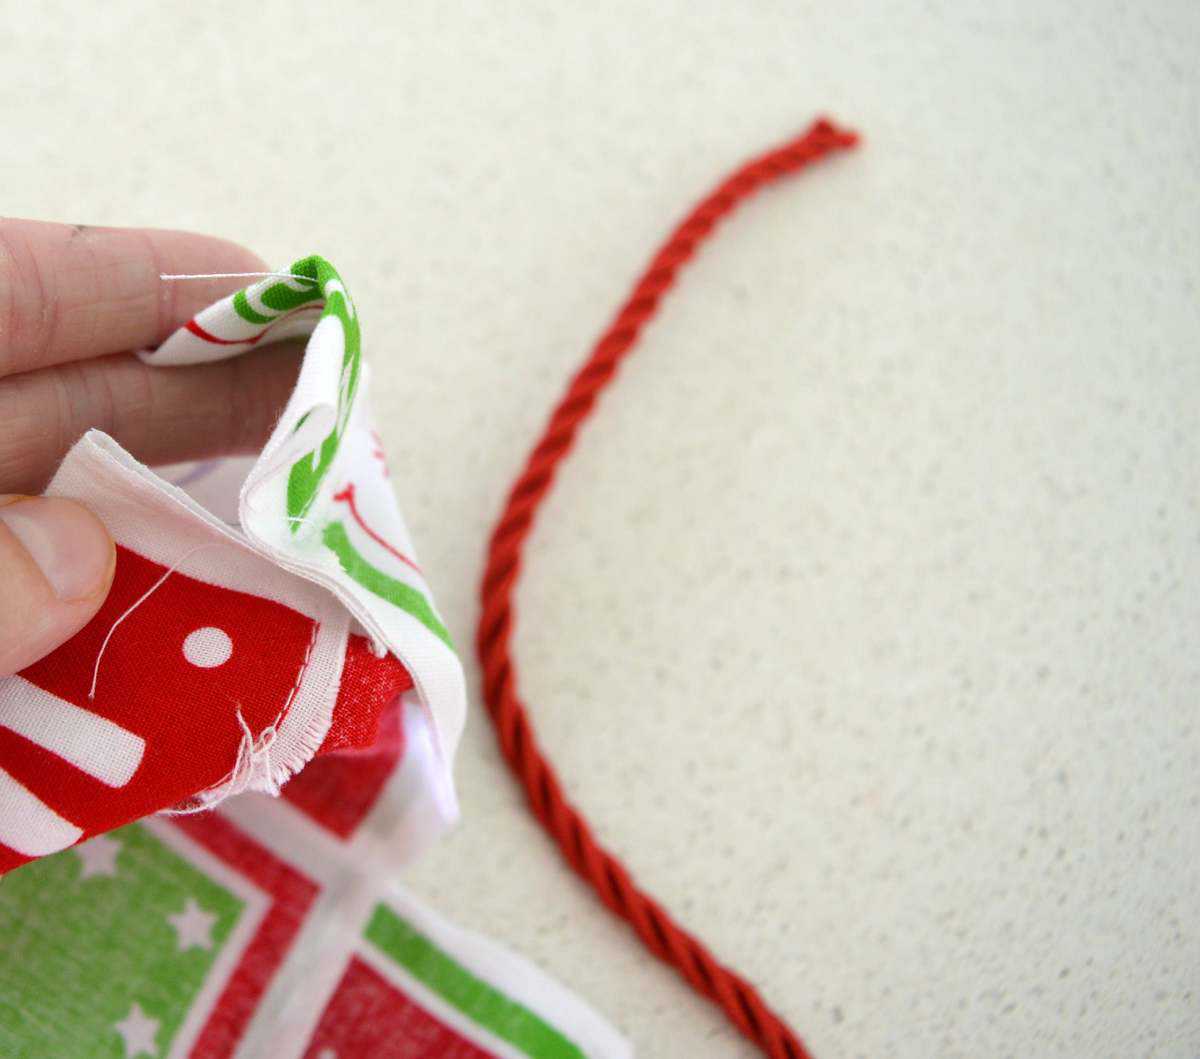
How to Make a Santa Sack You will need: 1.5 metres of your favourite Christmas fabric 1.2 metres of cord/ribbon Cotton Thread Scissors Pins A safety pin Fold the top of your fabric over approximately 3 cm and pin. You want to fold the fabric onto the wrong side of the material as you are creating the casing for the cord.
Diy Santa Bag! How To Make A Super Adorable Santa Bag
How to Make a Santa Sack. November 20, 2023. I'm super excited to share with you how to make a Santa Sack!! It's super easy to make and it measures 27 inches high and 22 inches wide. It's made with four pieces of fabric that measure 24″ x 30″ - two pieces of the outside fabric and two pieces for the lining. Here's a picture of my.
How to Make a Santa Sack Create Bake Make
Step 1 - Cut the Fabric for the Christmas Santa Sack Cut the fabric to the size you would like your Santa sack to be. A pillowcase size is a common favorite for this project, but you could go smaller if you wanted. CUTTING FORMULA: Choose the finished size and add a seam allowance of 1" (2.5cm) to the width and 1.5" (4cm) to the length. Cut 2.
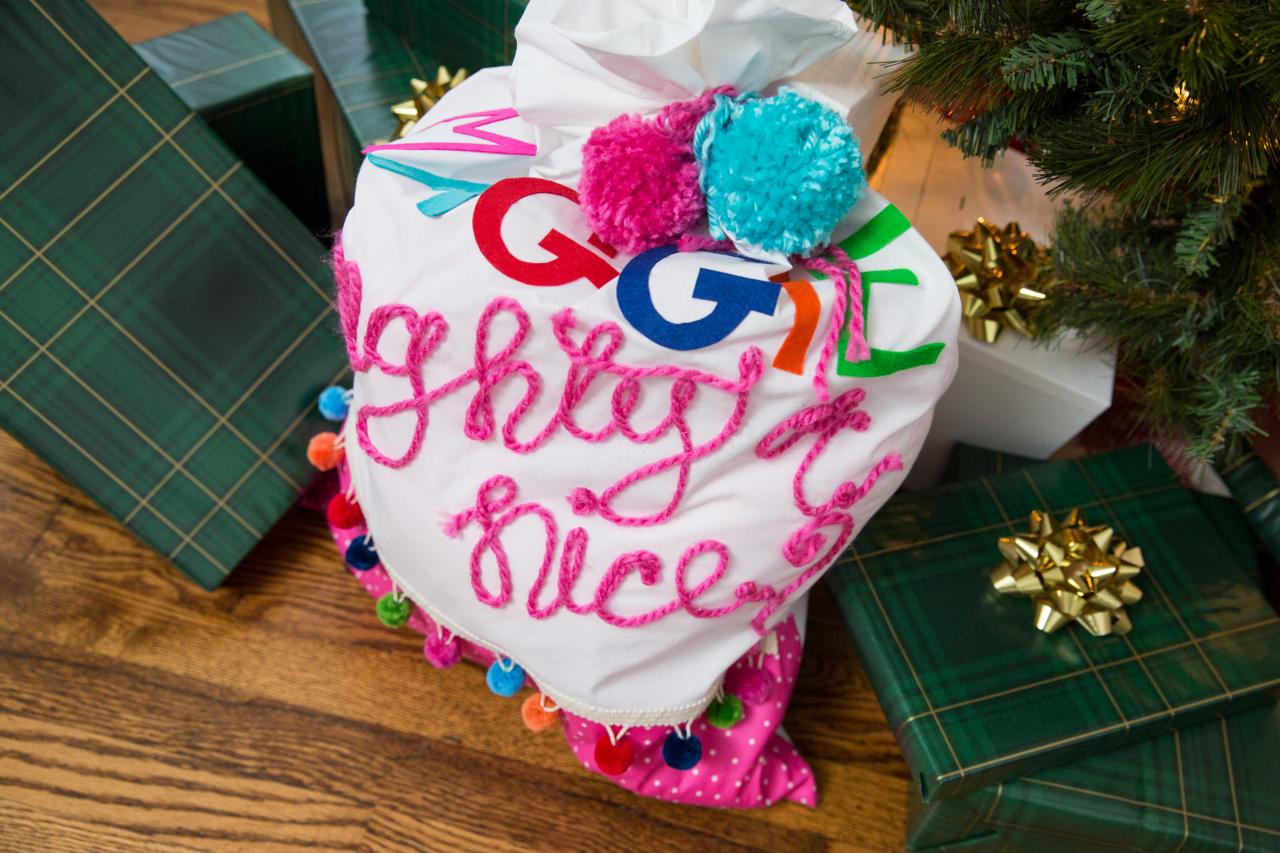
How to Make DIY Santa Sacks for Christmas Presents HGTV
In this tutorial, I demonstrate how to sew a Santa Sack in any size using a free downloadable worksheet. The worksheet can also be used in conjunction with my step-by-step tutorial on how to sew.
Threading My Way Showcasing Santa Sack Tutorial
With the right side of fabric facing down, fold over the top edge approximately 6cm. Iron flat. Fold both sides in approximately 1cm so they overlap the top fold. Iron flat ( pic A ). This will give the top of the bag a tidy finish. Fold down the top again by another 5cm to create the casing for the drawstring ribbon to go through.

As promised, here is a tutorial for the Santa Sack I made on the weekend. Mine came out about
You can mix instant coffee with warm water and soak your microfiber cloth. You'll then ring out the cloth and set it outside to dry. You'll fold one end of the microfiber cloth over about 3 inches. Cut the rest of the microfiber cloth off. You'll want to place a piece of the twine down the inside of the microfiber cloth as shown in photo.

How to Make a Santa Sack Create Bake Make
How to Make a Santa Sack Leave a review Level Time Budget Sometimes a stocking just isn't big enough, and that's when you need a Santa Sack! There's plenty of room in this bright and fun sack for all sorts of gifts and goodies, and with a name attached to the front, everyone will know whose is whose!

How to Make a Santa Sack Create Bake Make
Step 1. Turn the pillowcase inside out and lay flat, turn-over side down. Carefully cut the turn-over off another pillowcase (use the rest for another project). Fold 1cm of the long raw edge of this piece over, pin in place and iron flat. Lay the folded side face down along the top edge of pillowcase.
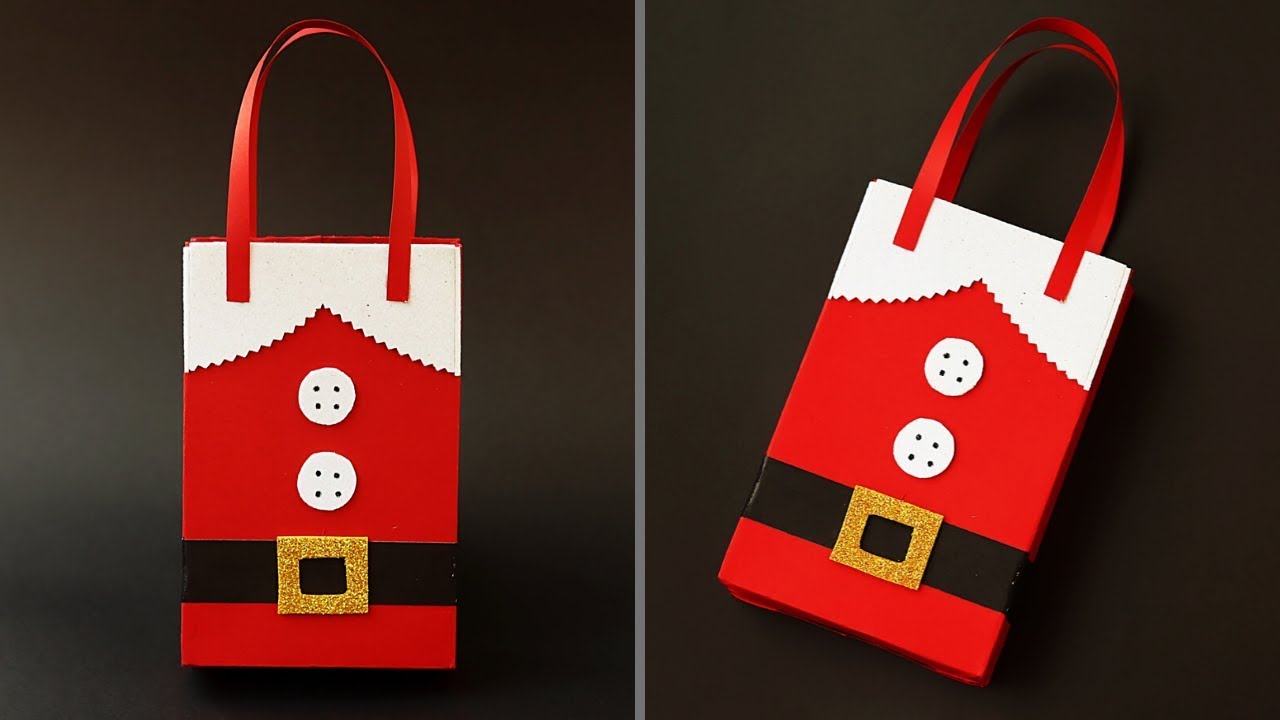
DIY Santa Claus Gift Bag For Christmas How To Make a Paper Bag YouTube
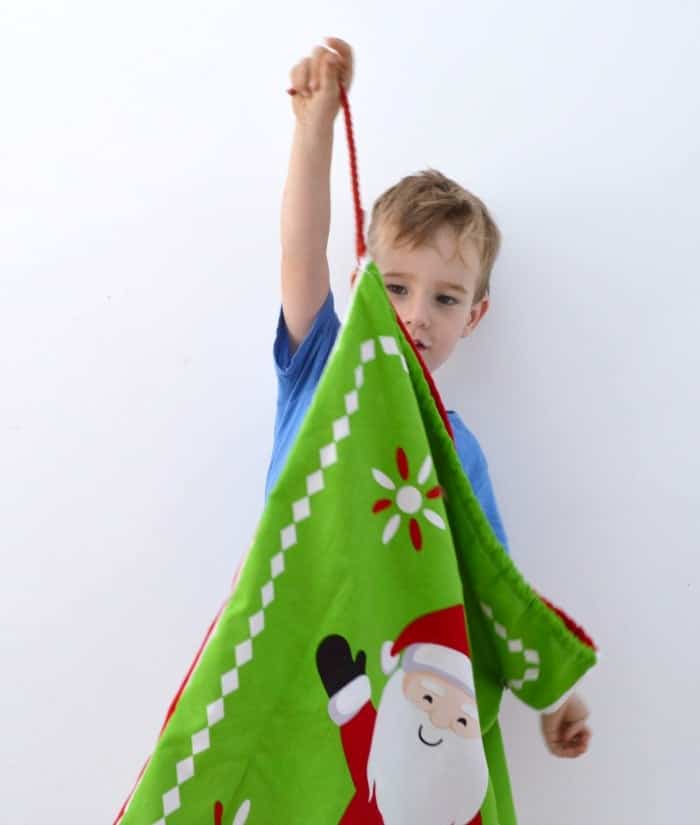
1. Decide on the size of your Santa sack. I made this one 75cm high by 50cm wide but you could make yours smaller if you prefer. 2. Fold over your outer fabric (plaid) from the base and cut to size — this will give you a front and back piece that's connected at the bottom. Do the same for your lining fabric (felt).

Learn how to make a Santa Sack. A quick and easy sewing pattern for a Santa Sack. A fun
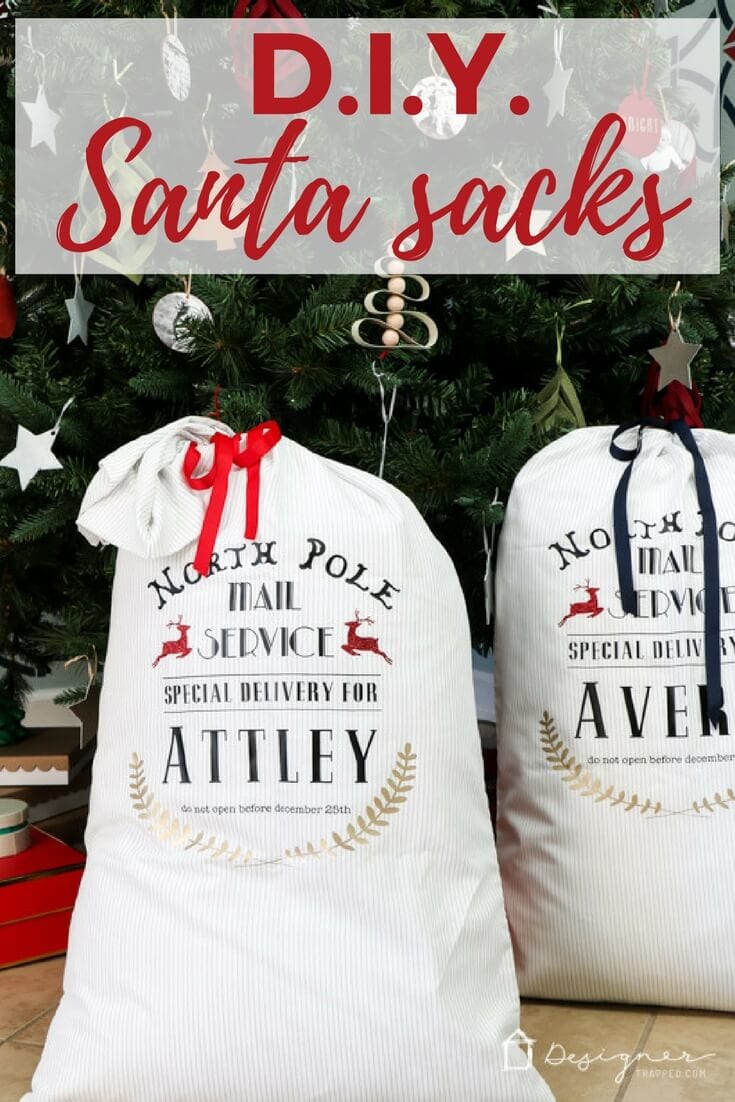
ADHERE THE DESIGN. Flip the design over and place it onto your blank Santa sack. For Siser Easyweed, set the Cricut Easy Press to 335 degrees and press for 15 seconds. This temperature is higher than is recommended on the Cricut website. However, the Cricut website recommendations are specifically for Cricut brand vinyl.

TUTORIAL Personalised Drawstring Santa Sack or Toy Bag Gift bags diy christmas, Handmade
Ready to get started? Follow our easy step-by-step guide, where we've also recommended some of our favourite Christmas fabrics. You will need Bondaweb Pinking shears Fabric glue Sewing thread 2 rectangles of cotton fabric 80cm x 60cm for sack 2 rectangles of cotton fabric 80cm x 60cm for lining Scraps and offcuts of cotton fabrics Iron

Huge Personalised Santa Sack made from real wool & huggable faux fur Santa's Little
In this tutorial, I demonstrate how to sew a Santa Sack in any size using a free downloadable worksheet which you will find below. The worksheet can also be used in conjunction with my step-by-step tutorial on how to sew a Reversible Drawstring Gift Bag. The Santa Sack has an expandable bottom that folds flat when it is not in use. All the seams are completely finished with no raw edges exposed.

How to Make a Santa Sack Create Bake Make
A simple step by step tutorial for how to make a DIY Santa Sack. An affordable way to create cute personalised stockings for your kids! One of the things I love the most about having kids is getting to experience things like Christmas through the eyes of a child all over again.
How to Make a Santa Sack Create Bake Make
Holiday sacks have been everywhere this year. They can be kind of expensive so I wanted to make a tutorial and show you how easy they are to make yourself. T.

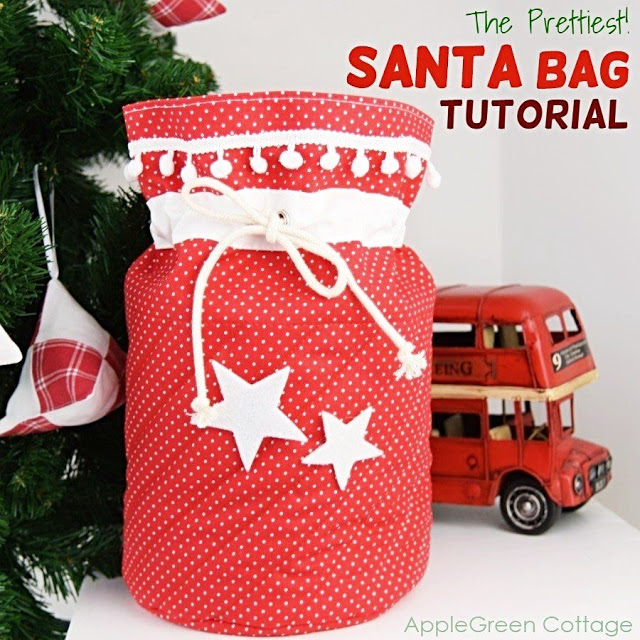
Santa Bag Tutorial Mary Martha Mama
Learn how to make Santa sacks with this fun and easy Santa sack sewing pattern. Make it in small, medium, or large size to welcome Santa home! Wouldn't you love an awesome handmade Santa sack to welcome him this Christmas? Well here is something to quench your thirst for making all things handmade for Christmas, the easy Santa sack.